Getting started guide of Raspberry Pi with NOOBS
03 March 2014 By Bhavyanshu Parasher
Overview
Recently I got my very own Raspberry Pi Model B. Thanks to my sis for getting it for me.

As soon as I got it, i was really excited to just get on with it. It requires lot many things if you need it for computational purpose. In my opinion, there is no point working on it in headless mode. In the following section, I will be explaining the stuff you can buy easily in India to get it up and running.
Requirements
Okay, the things I needed were :
- A monitor/TV with AV Input or HDMI input. Remember those good old CRT TVs?. If you don’t have then you can buy a small TV found in local electronic stores. They are really less expensive.
- AV cable depending on the port that your monitor/TV has or HDMI cable if your monitor/TV supports HDMI. AV cables are those which you must have used in connecting those good old Video Game consoles with TV. :)
My monitor does not support HDMI, so I have got AV cable compatible with my monitor port. Take a look at what these look like.

- A mini USB keyboard. I bought a cheap Intex IT-301A keyboard for like Rs. 300 or so. Works perfectly fine with Raspberry Pi.
- A 5V , 1.2 A power supply preferably. Well, I have this Travel Adapter which I use for charging my Nexus 4. I use that to power up my Raspberry Pi. I read somewhere that it needs at least 700mA to power up. You can use 5V, 1 A power adapter with it as well but try not to go below 1A because if Pi draws more current due to some peripheral device, your Pi will most likely reboot. I am no electrical engineer. If I am wrong, then please leave a comment. The output voltage should not be more than 5.1V. It will damage your Pi.
- Most important thing is SDHC card. Please spend some money and only buy a quality SDHC card. In the SDHC card, you will be installing the OS and from there your Pi will boot up the OS. I have bought a SanDisk 8 GB Class 4 SDHC card. Till now i have never had a single problem with it. It’s actually quite fast too. There are other variations like Class 10 SDHC, they are known to be faster than class 4. So choose wisely on what you buy.
- A LAN cable. You can easily find that.
Getting the operating system for Raspberry Pi
Since I have experience in partitioning drives and booting linux OS on laptops, I had no problem getting raspbian OS directly running without using NOOBS. But those who just have experience of using GUIs and are not comfortable with CLI, I would recommend you to first get NOOBS and then install the OS through its GUI.
How to get NOOBS and putting files on SDHC card
In this Raspberry Pi official blog post, they have quoted the requirement of NOOBS for beginners. I will requote the important stuff from it.
We don’t want people to put their Raspberry Pi down in horror after five minutes. So with this in mind, we’d like to introduce you to NOOBS. NOOBS is a way to make setting up a Raspberry Pi for the first time much, much easier. You won’t need network access, and you won’t need to download any special imaging software. Just head to the downloads page, grab a copy of the NOOBS zip file, and unpack it onto a freshly formatted 4GB (or larger) SD card. When you boot up for the first time, you’ll see a menu prompting you to install one of several operating systems into the free space on the card. The choice means you can boot the Pi with a regular operating system like Raspbian, or with a media-centre specific OS like RaspBMC.
They have even put up a nice video explaining how to setup OS on Raspberry Pi.
For those, who can’t watch the above video, I am going to explain how to setup.
- Go to the downloads page of Raspberry Pi. There you will find NOOBS right on top. Download the torrent file of NOOBS (offline and network install).
- In the meantime, you should plugin your SDHC card and format it to FAT32 using any formatter tool. How to format on linux?
- Once the download is completed, extract the files in the ZIP archive to your SDHC card and unmount/eject the SDHC card.
- Now plug in your SDHC card in the raspberry Pi SDHC card slot and power up your Raspberry Pi. Make sure you have connected all the required peripheral devices, i.e, a monitor, a mini-usb keyboard, LAN cable etc.
- At first if you cannot see any display on powering up the Raspberry Pi, make sure your connections are correct and Raspberry Pi’s on-board RED LED is on and GREEN LED is flickering at times on powering on your Pi. It’s perfectly normal if it is.
NOTE : If still nothing displays, just unplug and again power on your Pi. As soon as you power on, press the SHIFT key on keyboard and wait for a sometime. It is probably forcing the video output through HDMI and not through composite Video out. If your monitor is connected via AV cable, then try pressing 1 to 4 keys on keyboard. One of the keys will direct video output through AV cable. It’s key 3 in my case. I use AV composite output. If you still don’t get anything, i would suggest you to read this tutorial first.
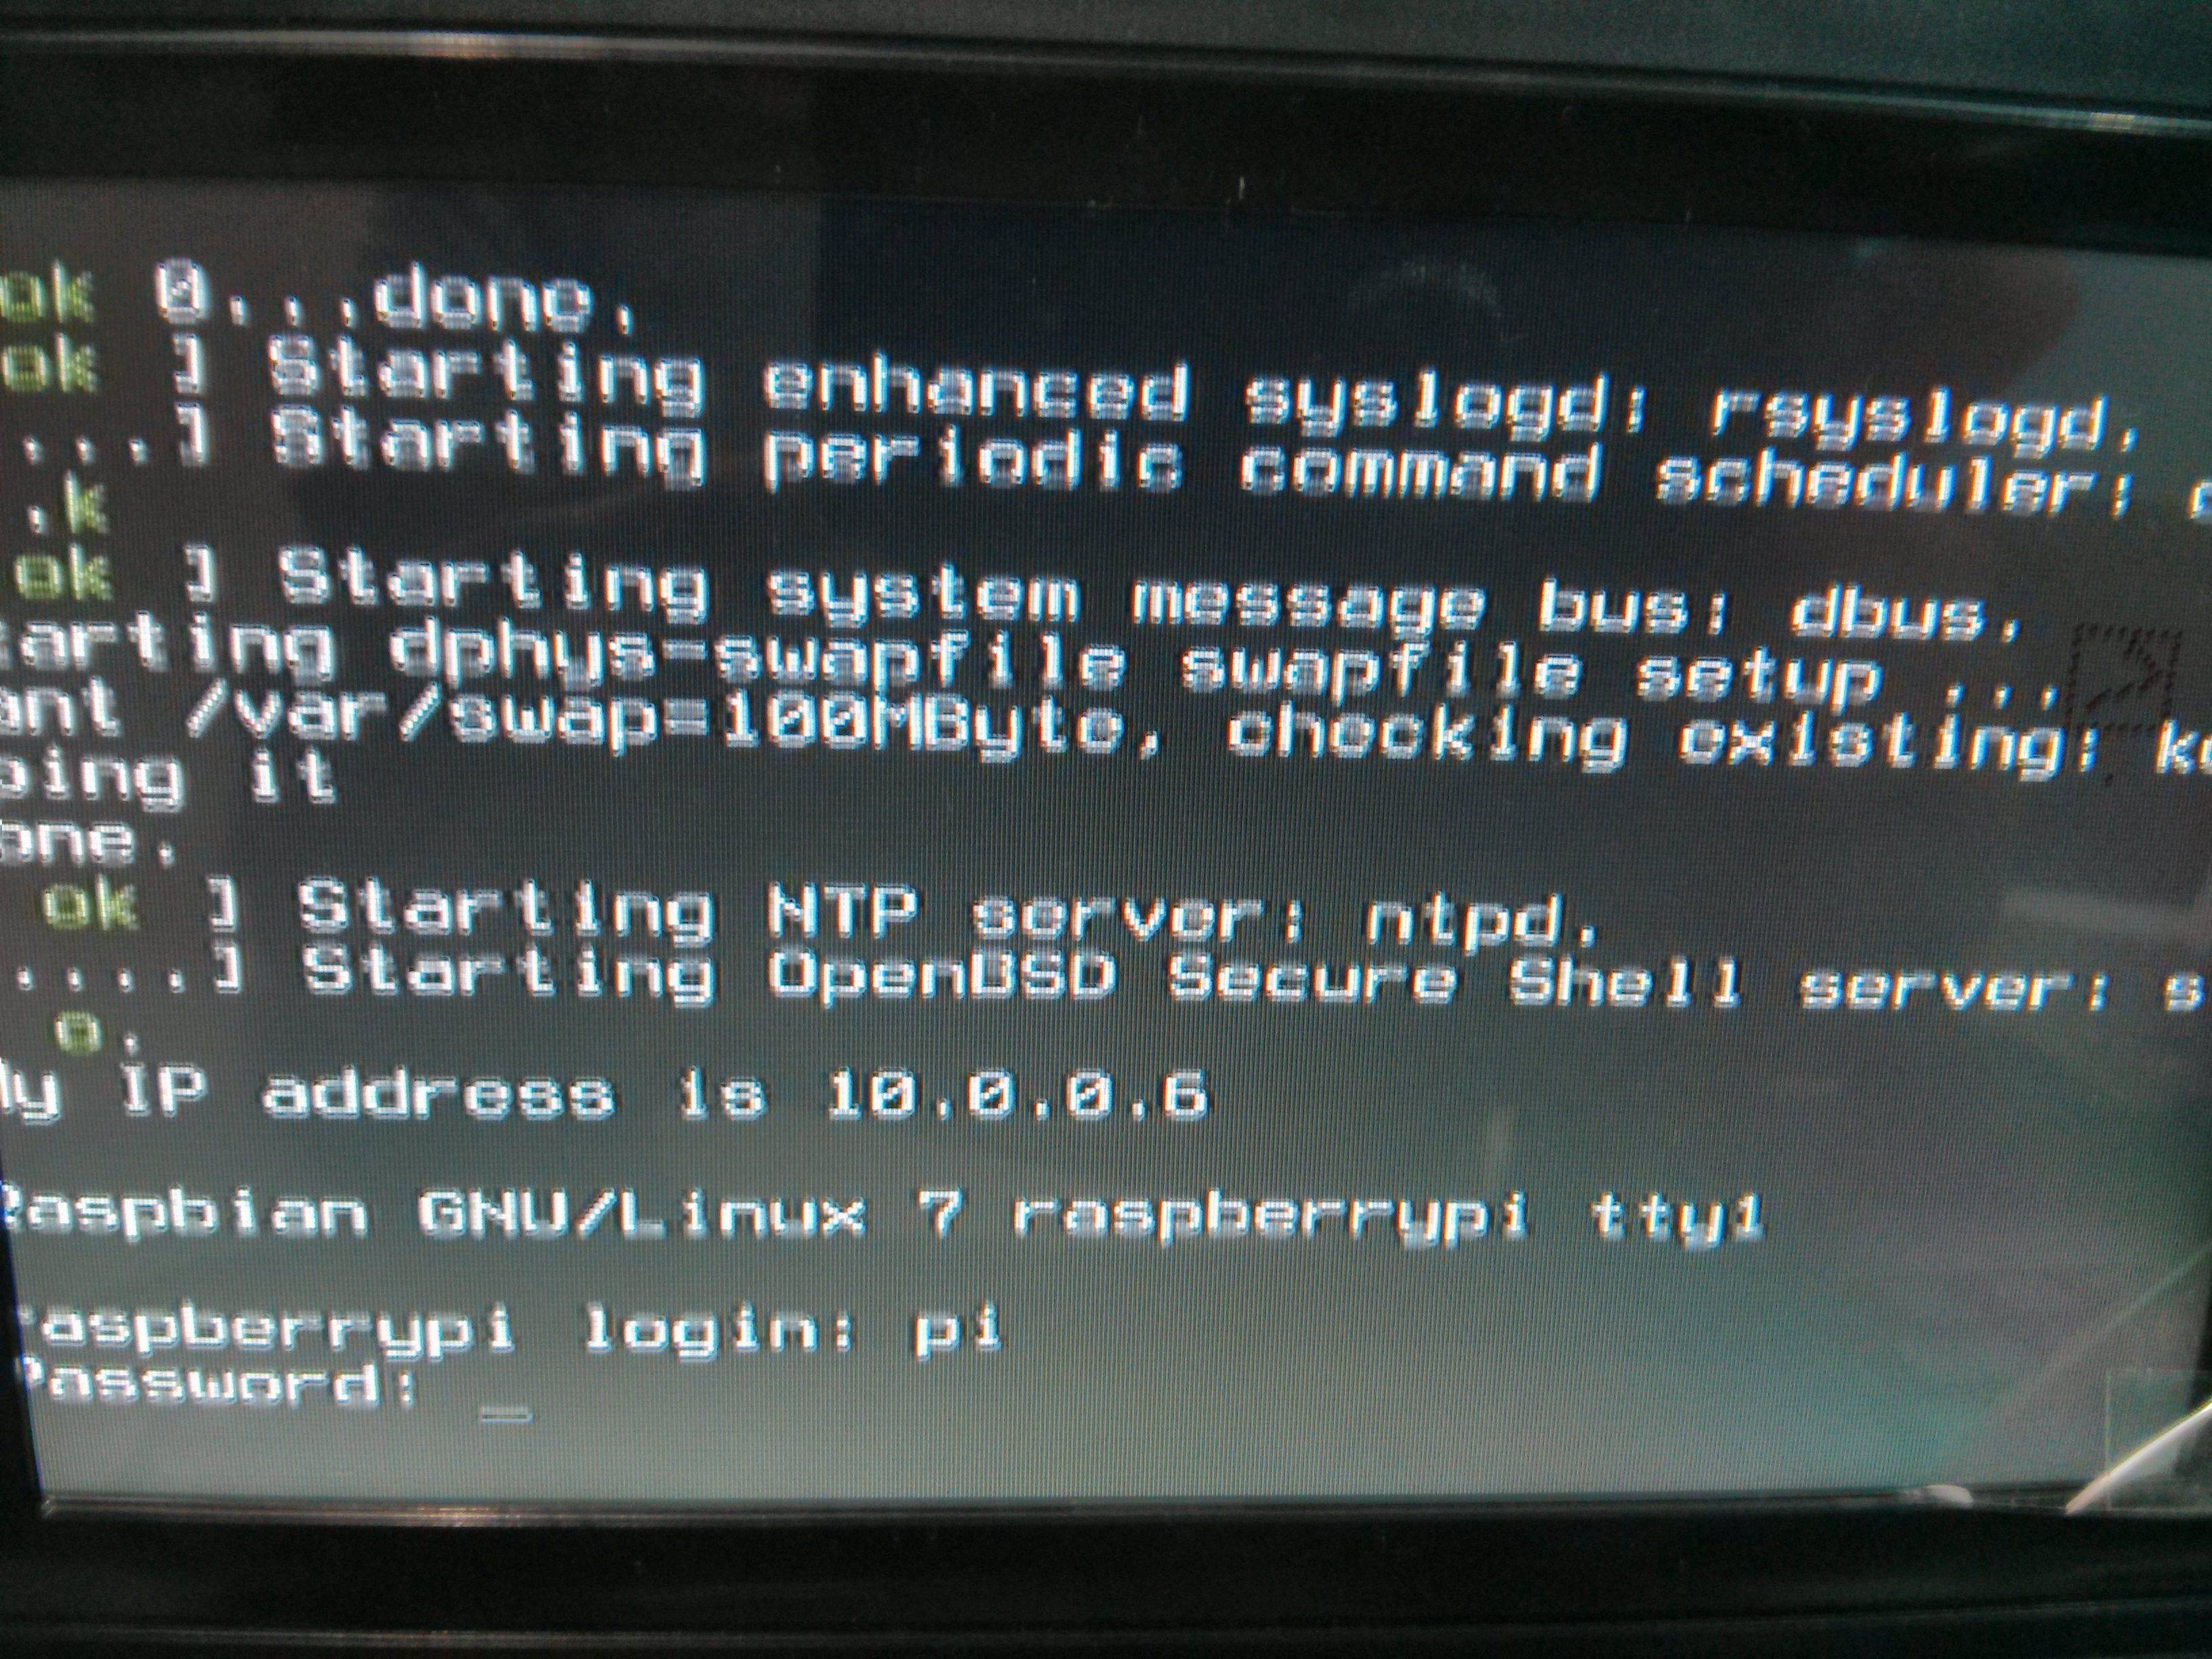
Once the display is visible, you will see something like this :

Choose the OS you wish to setup on the your Raspberry Pi. For starters, just install Raspbian OS. It is a debian based OS for raspberry Pi. It also has a GUI. Select the OS and then press i on keyboard. It will ask to install the OS. Once the OS has installed, then let it reboot.
You will see a command line interface asking you for login. So you just type pi as username and raspberry as password (if it asks).
Once you have access to the shell, then type raspi-config. You will see something like this

Select to change password and set password of user pi as you like.
Once done, let it reboot again and then login again with pi as username and password as you have set it. Don’t worry if you don’t see any letters being typed in front of the password field. It’s just the way CLI works. It’s normal for sensitive information. Just type and then hit enter.
To start the GUI, just simply run startx command and it will take you to GUI. To get back to CLI, press ctrl+alt+backspace.


That’s all for the basics. View more tutorials on Raspberry Pi
blog comments powered by Disqus