Quickly setup laravel 5.0 on linux [xampp]
23 August 2015 By Bhavyanshu Parasher
Overview
What is laravel?
Laravel is a free, open source PHP web application framework, designed for the development of model–view–controller (MVC) web applications. Laravel is released under the MIT license, with its source code hosted on GitHub.
What is xampp?
XAMPP is a free and open source cross-platform web server solution stack package, consisting mainly of the Apache HTTP Server, MySQL database, and interpreters for scripts written in the PHP and Perl programming languages.
Requirements
- xampp
- composer
- mcrypt
Setup
-
First, Download xampp. Then, you need to setup xampp and change its security settings. Execute,
chmod 755 xampp-linux-*-installer.run
sudo ./xampp-linux-*-installer.run
This will open the installer and just click “next” and it will install xampp files in /opt/lampp folder. You should first check if lampp is functioning properly. To test this,
sudo /opt/lampp/lampp startLet it start everything for you. Now just go to http://localhost and see it is working. We will need to setup security settings as well.
sudo /opt/lampp/lampp securitySet all the passwords etc, and you are done!
-
Now you need to get composer
curl -sS https://getcomposer.org/installer | php
sudo mv composer.phar /usr/local/bin/composer
If you still get an error, please refer to composer website.
-
Now you need to get important dependencies of laravel - mcrypt.
sudo apt-get install php5-mcrypt php5-jsonAnd now run,
sudo php5enmod mcryptTo make sure it is running,
php -i | grep mcryptIt will output
....... mcrypt support => enabled mcrypt_filter support => enabled ....... -
Let us create an app now
sudo composer create-project laravel/laravel --prefer-dist learn-laravel5where learn-laravel5 is the directory where all the laravel files will be stored. It’s gonna take its time to download and install all the dependencies. If you get an error on composer command, just make sure /usr/local/bin/composer is executable. For that, just do sudo chmod +x /usr/local/bin/composer. It should work now.
Testing
First, cd learn-laravel5 and then type
sudo php artisan serve
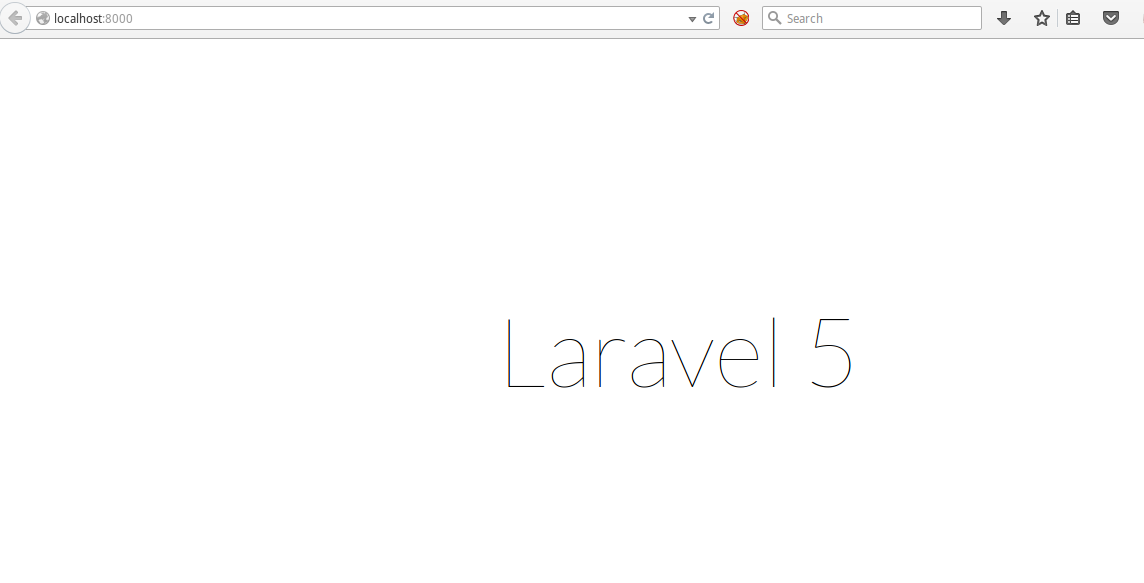
Next, open your browser and navigate to http://localhost:8000 and you should see the intro page like this.

Basic settings
-
Give a name to app (Optional) - Now you might want to give a name to the app. Let us name it Learnlaravel. First,
cdinto the project root and thensudo php artisan app:name Learnlaravel -
Local environment - Let us setup mysql database. First of all, you need to create a database. Go to your phpmyadmin (Open in browser - http://localhost/phpmyadmin/), create a new database and edit your learn-laravel5/.env file with correct mysql configuration.
For example, change DB_HOST with host name (Usually localhost), DB_DATABASE with the one you just created. I named mine learnl5db. You can name it whatever you like. Then there is DB_USERNAME and DB_PASSWORD which you use to access your database in phpmyadmin.
DB_HOST=localhost
DB_DATABASE=learnl5db
DB_USERNAME=someusername
DB_PASSWORD=somepassword
Next, APP_ENV=local & APP_DEBUG=true can also be set here. Feel free to modify your environment variables as needed for your own local server, as well as your production environment.
That’s all. Save the file. This file should be in .gitignore as there is a .env.example which you must keep if you are working with the team. Because it acts like a template and the other devs will know what environment variables your app needs.
-
app.php - learn-laravel5/config/app.php is the file where you set locale, timezone, add/remove providers, manage aliases. We will look at this later. Just look at basic setting. For example, set timezone to your timezone. Like, I have set it to ‘timezone’=>’Asia/Kolkata’, default is UTC.
-
Setup Migrations - Migrations are a type of version control for your database. They allow a team to modify the database schema and stay up to date on the current schema state. Migrations Doc
Use the below command to create a table called migrations in your database which will keep track of all the changes so that you can rollback any time. We are doing this basic step here so that we can test if our configuration is okay or not. When you execute this command, it should print “Migration table created successfully”. If it gives error, please check your .env file.
sudo php artisan migrate:install
That’s all. You can now start developing the app. Read details on configuration here. Find more laravel 5.0 tutorials here.
blog comments powered by Disqus