Force Raspberry Pi output to composite video instead of HDMI
03 March 2014 By Bhavyanshu Parasher
Overview
By default when you boot Raspbian OS, it will output video to HDMI. Some people still don’t have HDMI supported TVs or even HDMI cables, hence the only option is to use AV cable. The AV cable can be connected to composite video output (yellow port) of Raspberry Pi. Below shown is the composite cable that you might be having. Composite video is through yellow and stereo audio is through white and red.

I am really sorry about the poor quality images. There was no way I could take pictures except using my phone’s crappy camera.
Solution (Step by step instructions)
-
First, set up your connections of Raspberry Pi with the keyboard and monitor. Make sure they are correctly set up. Now plug in your SDHC card in the Raspberry Pi slot. Power on the TV/Monitor and make sure that the TV/Monitor is on AV.
-
Next thing is to power on the Raspberry Pi and when you see RED LED is on, hold down the SHIFT key until the Green LED stops flickering on the Raspberry Pi.
-
Now if you don’t see anything on the display, then try pressing 1, 2, 3, 4 keys on the keyboard one by one. This should really do the trick. “1” to select output to the HDMI which is by default. “2” to select output to “Safe HDMI”. “3” is for composite PAL. “4” is for composite NTSC. If it still doesn’t, then try unplugging and replugging the power source and follow step 1 to 3 again.
-
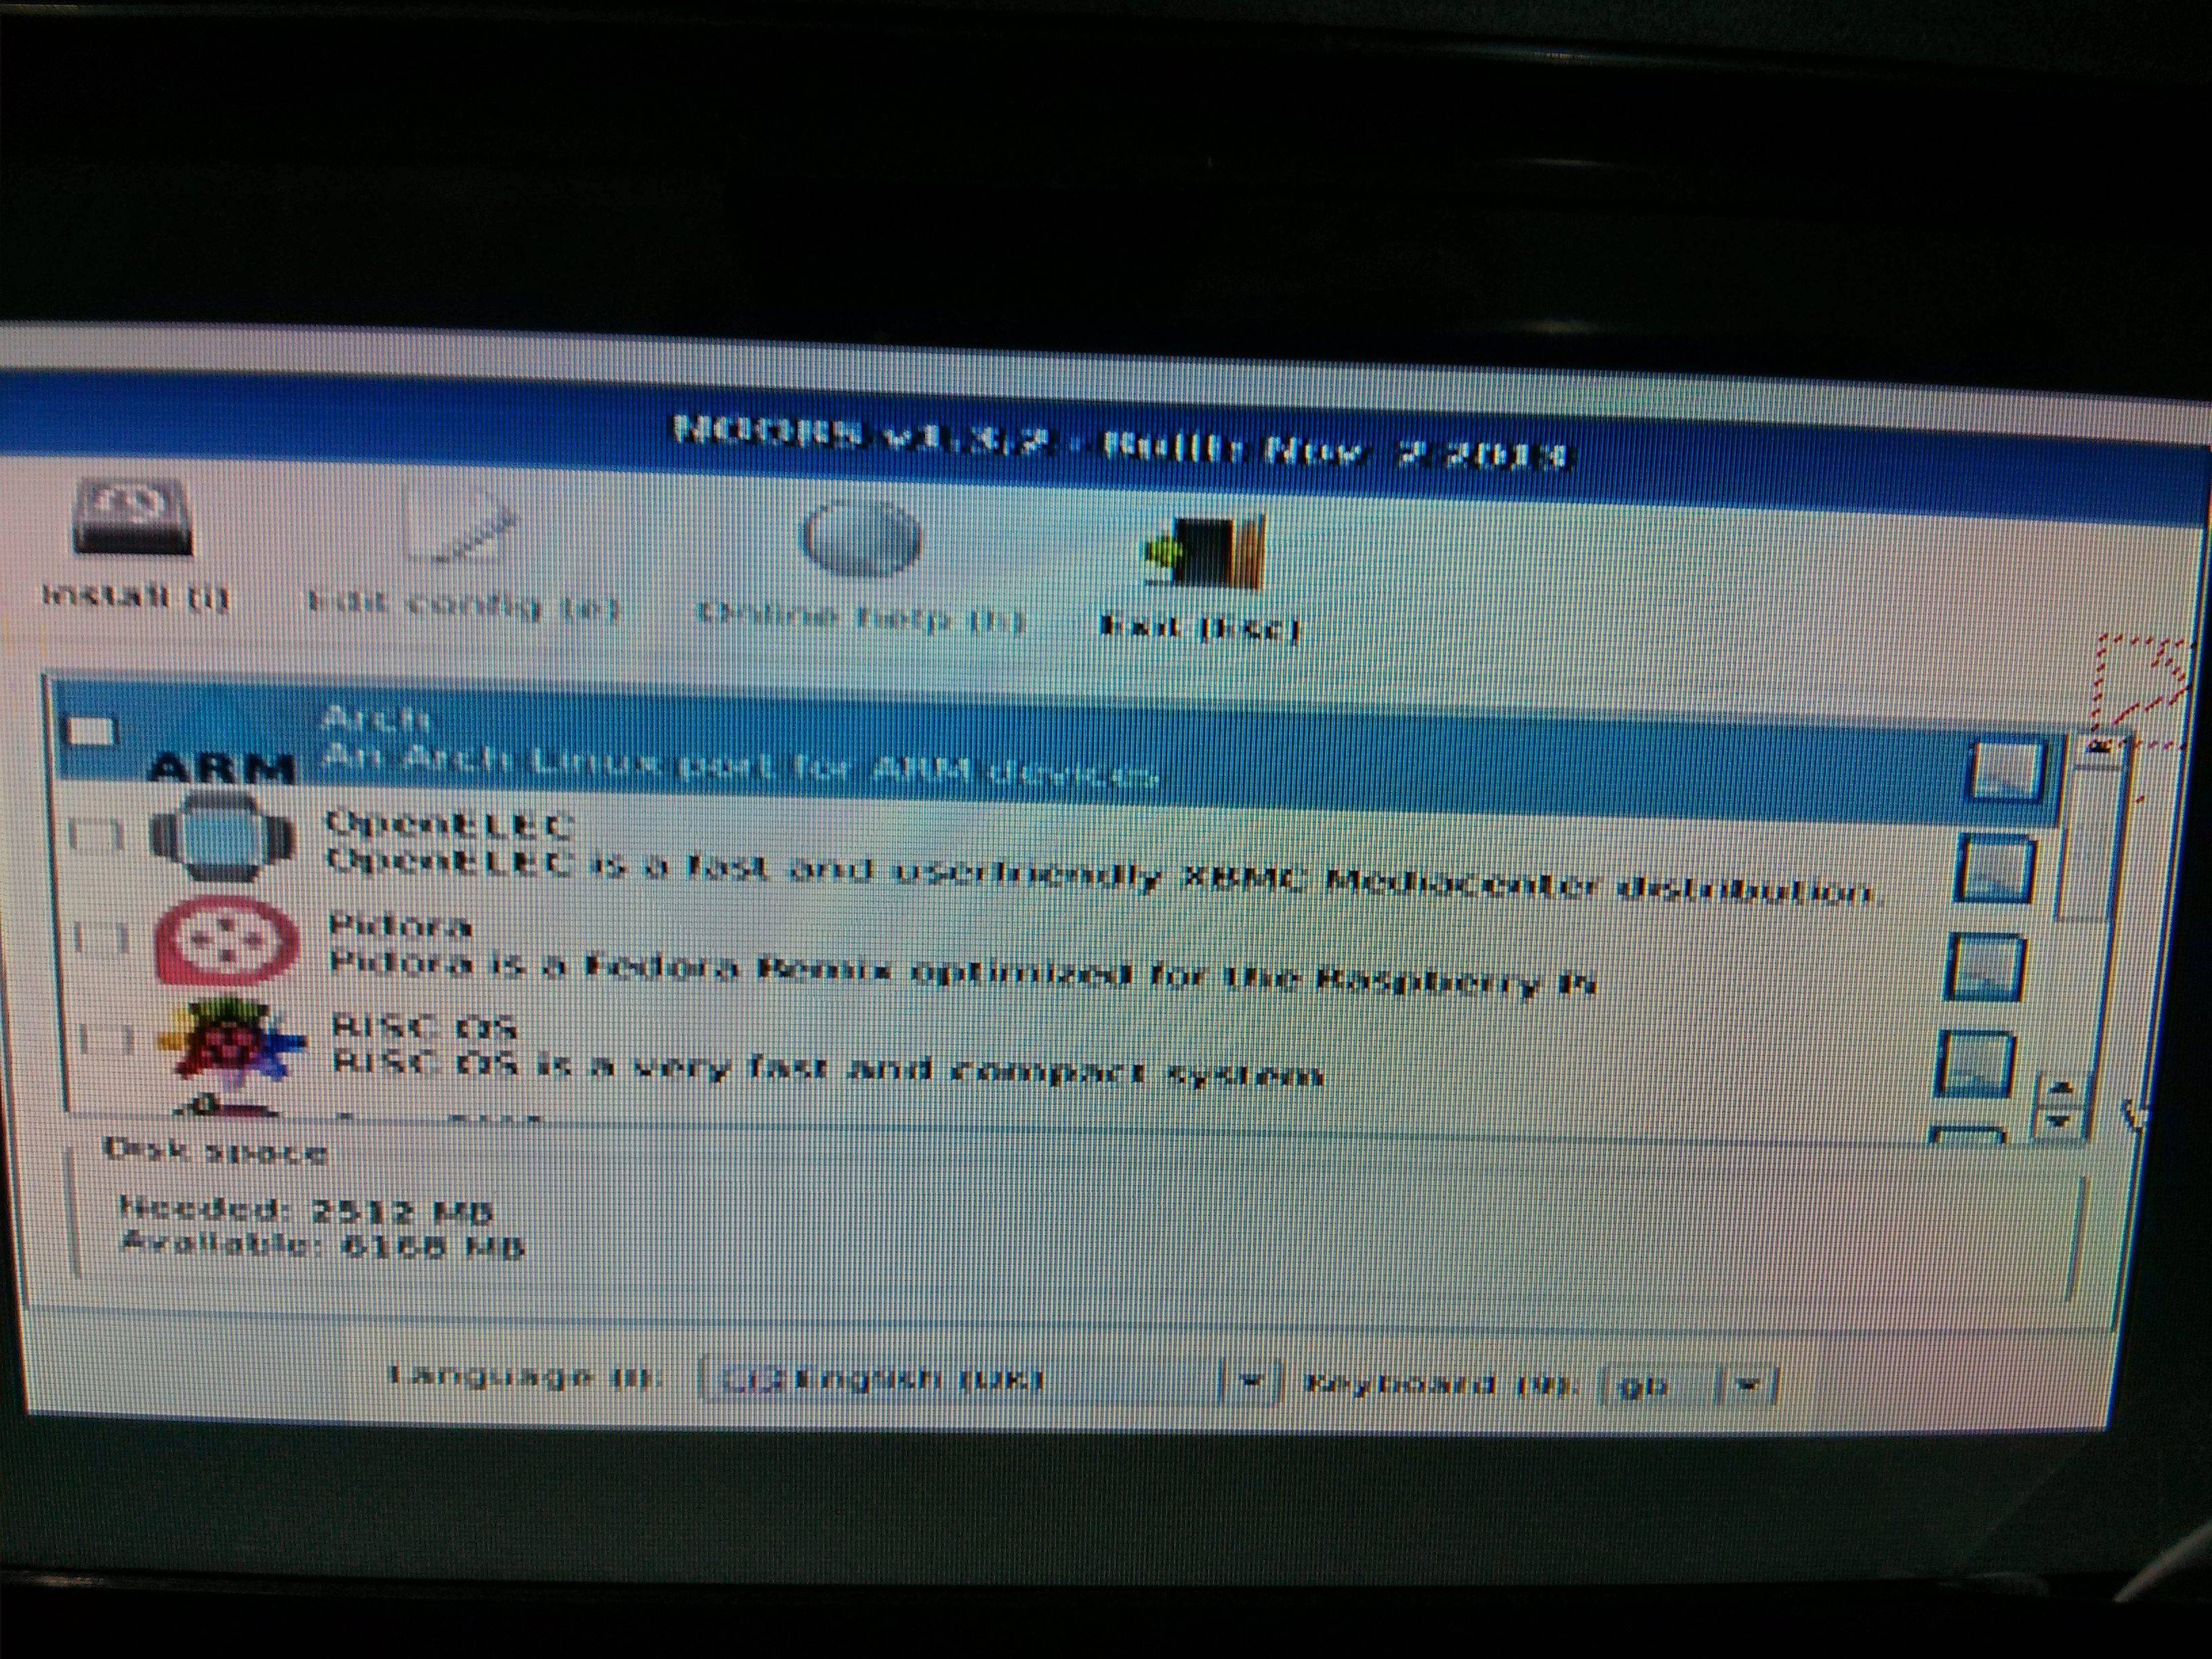
Now once it is displaying the output, you should see the noobs menu like shown below.

-
Now if you have installed OS before, then move down to the OS you have installed using your keyboard and hit
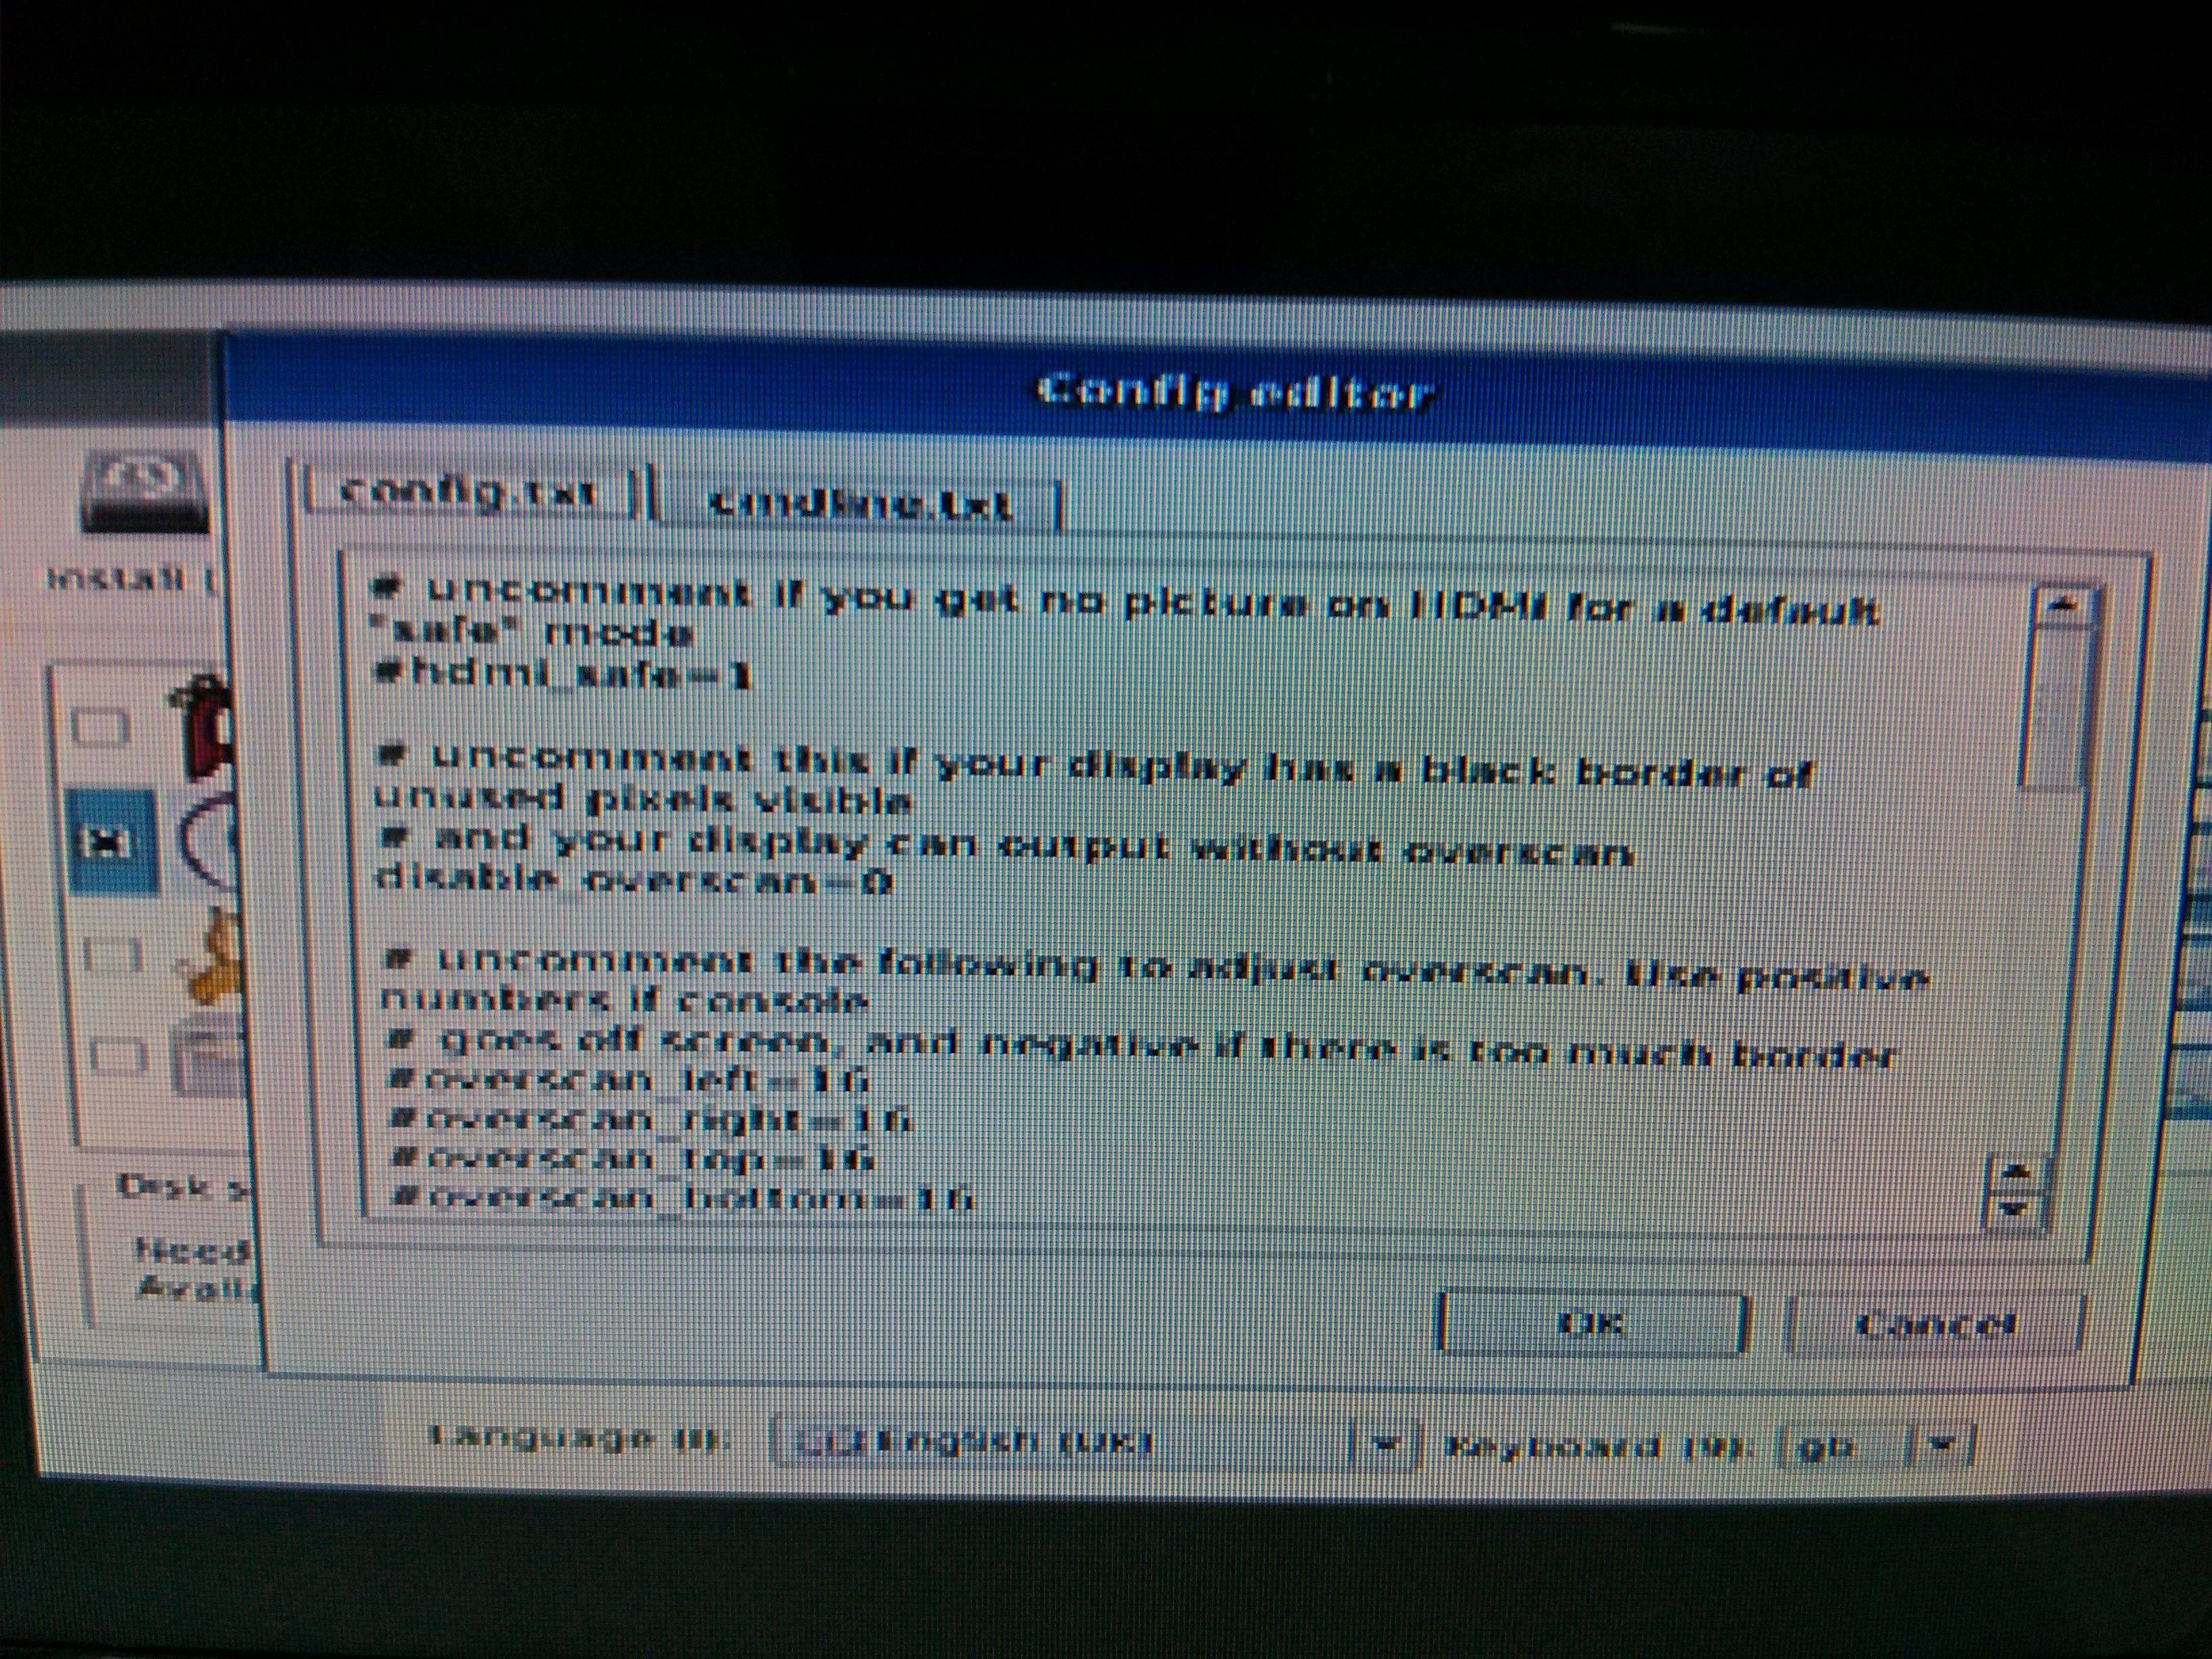
ekey to open editor. It should look something like this. If you do not have any OS installed at the moment, then install OS and let it reboot first and then follow steps 2 and 3 again to reach this menu.

-
The editor will open the config.txt file, look for this line
#sdtv_mode=0. Change it to one of the following as per your type of TV/Monitor. I have it set to Normal PAL.sdtv_mode=0 Normal NTSC sdtv_mode=1 Japanese version of NTSC – no pedestal sdtv_mode=2 Normal PAL sdtv_mode=3 Brazilian version of PAL – 525/60 rather than 625/50, different subcarrier -
Next thing you need to add is
hdmi_ignore_hotplug=1. Make sure thathdmi_force_hotplug=1is commented out. Now this is the setting you should keep in mind always. You will have to switch back this setting if you ever plug-in your Raspberry Pi with HDMI. Better to write both and just comment out one of them with#symbol. -
Press TAB key and select Okay button. Then press
ESCkey and let the Raspberry Pi reboot. Wait for a while and it should display output to AV this time. That’s all.
If the above also does not work for you, then the last option would be to plug SDHC in your laptop and open BOOT/config.txt file present in it and follow steps 6 & 7 in the solution given above. This solution does not require OS installation becuase this config.txt is used by GPU.
View more tutorials on Raspberry Pi
blog comments powered by Disqus